Kaedim3D for Beginners Step-by-Step 3D Model Guide
Discover how to create, customize, and use 3D models effortlessly with Kaedim3D — an AI-powered tool that converts 2D images into detailed 3D assets. This beginner’s guide walks you through every step, from setup to export.
What Is Kaedim3D?
Kaedim3D is an AI-driven platform that automatically generates 3D models from 2D reference images. Instead of manually sculpting models in programs like Blender or Maya, Kaedim3D analyzes the image and produces a high-quality 3D mesh — saving hours of work.
- Time-saving: Models generated in minutes.
- AI precision: Consistent geometry and topology.
- Customizable output: Supports formats for easy integration into Unity, Unreal Engine, or Blender.
Getting Started
Before you begin, you’ll need:
- A Kaedim3D account (sign up on the official website).
- A 2D image or concept art to upload.
- Optional: access to a 3D editor (like Blender) to refine your model later.
Once logged in, navigate to your Dashboard and click “Create New Model.”
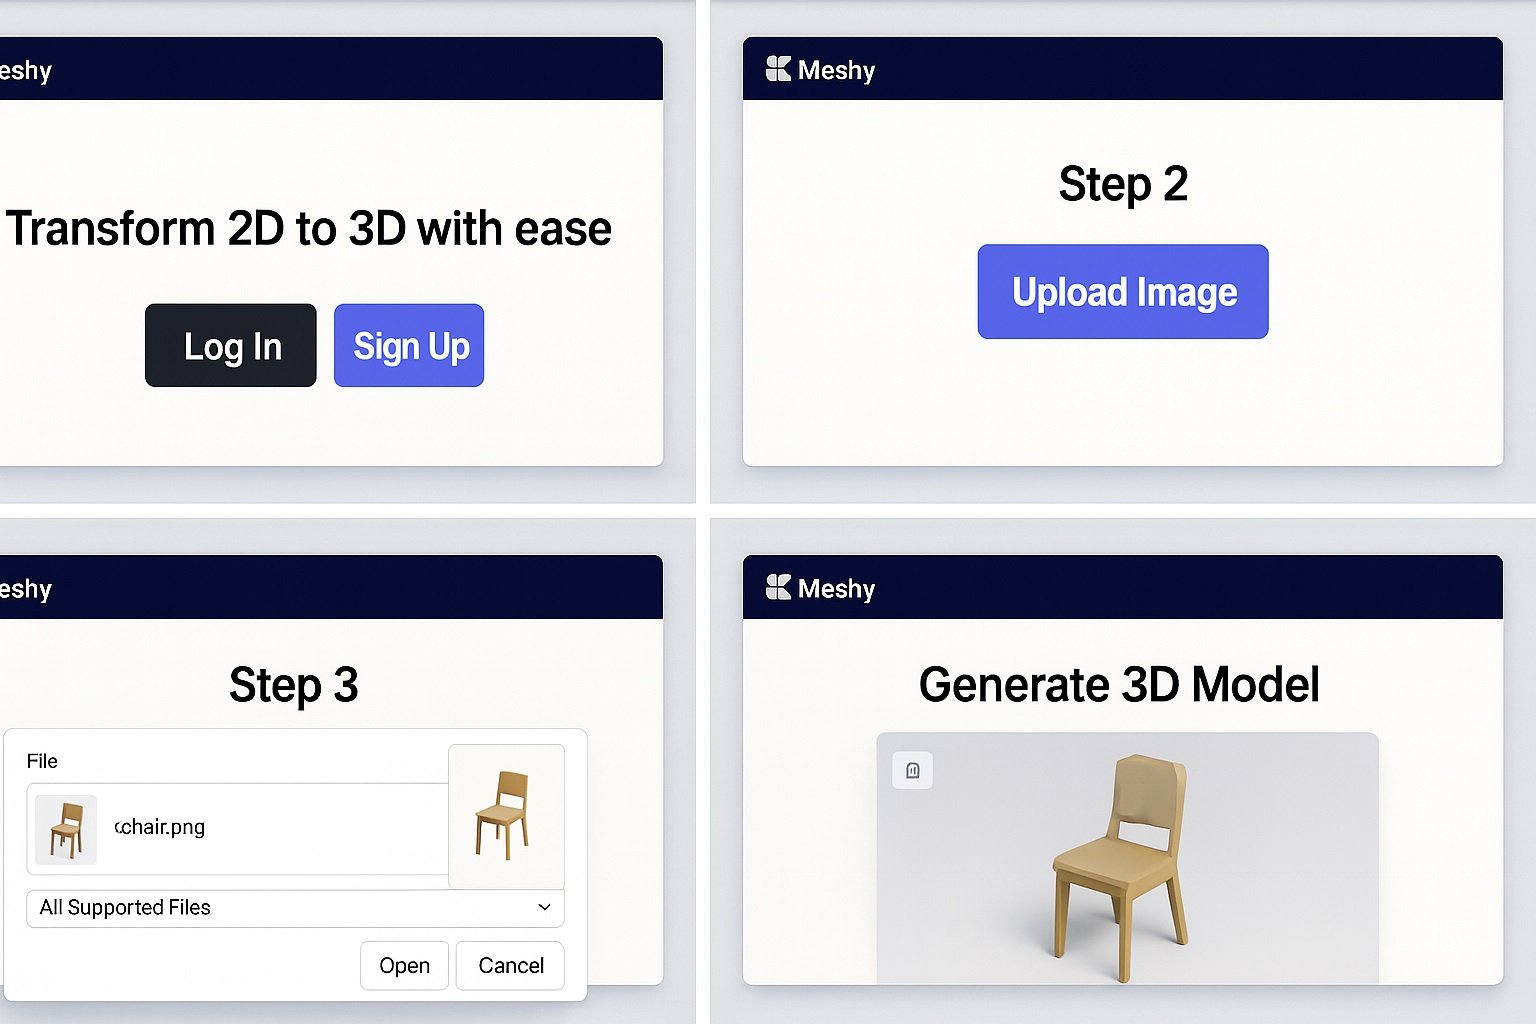
Uploading Your 2D Image
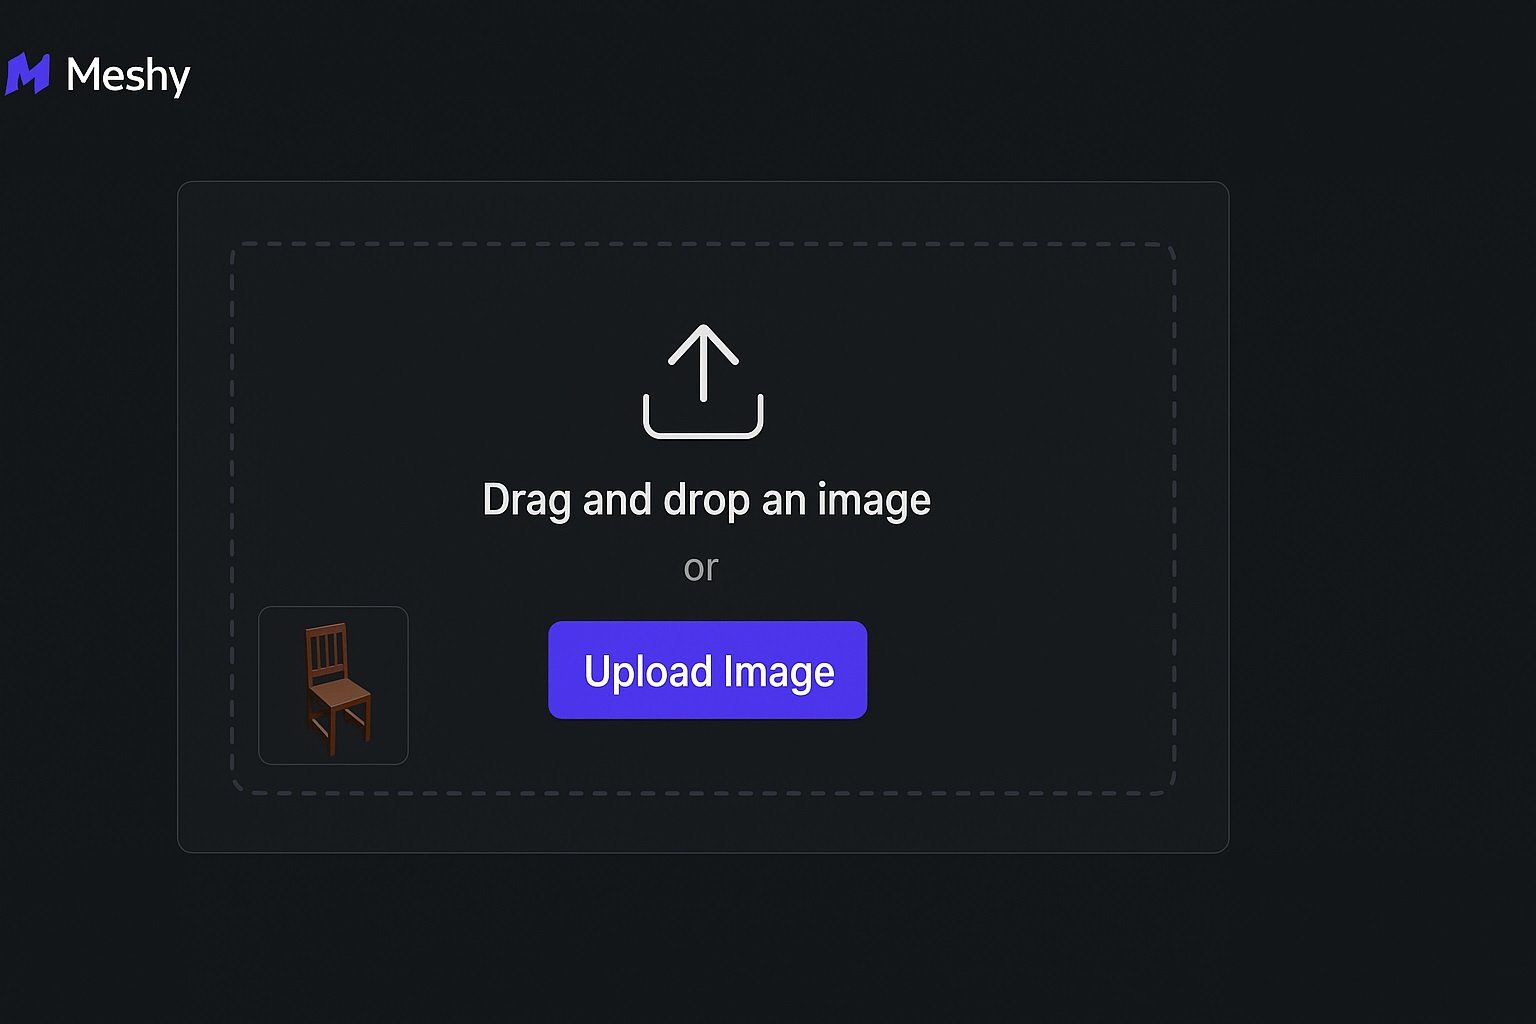
- Click Upload Reference Image.
- Choose your 2D concept art—ideally with clear front or perspective views.
- Add notes for the AI if you want specific details (e.g., “Make this character stylized,” or “Add mechanical textures”).
- Submit your image for processing.
Kaedim3D’s AI will analyze and generate a 3D version of your image, typically within a few minutes.
Reviewing and Refining the Model
Once the model is ready: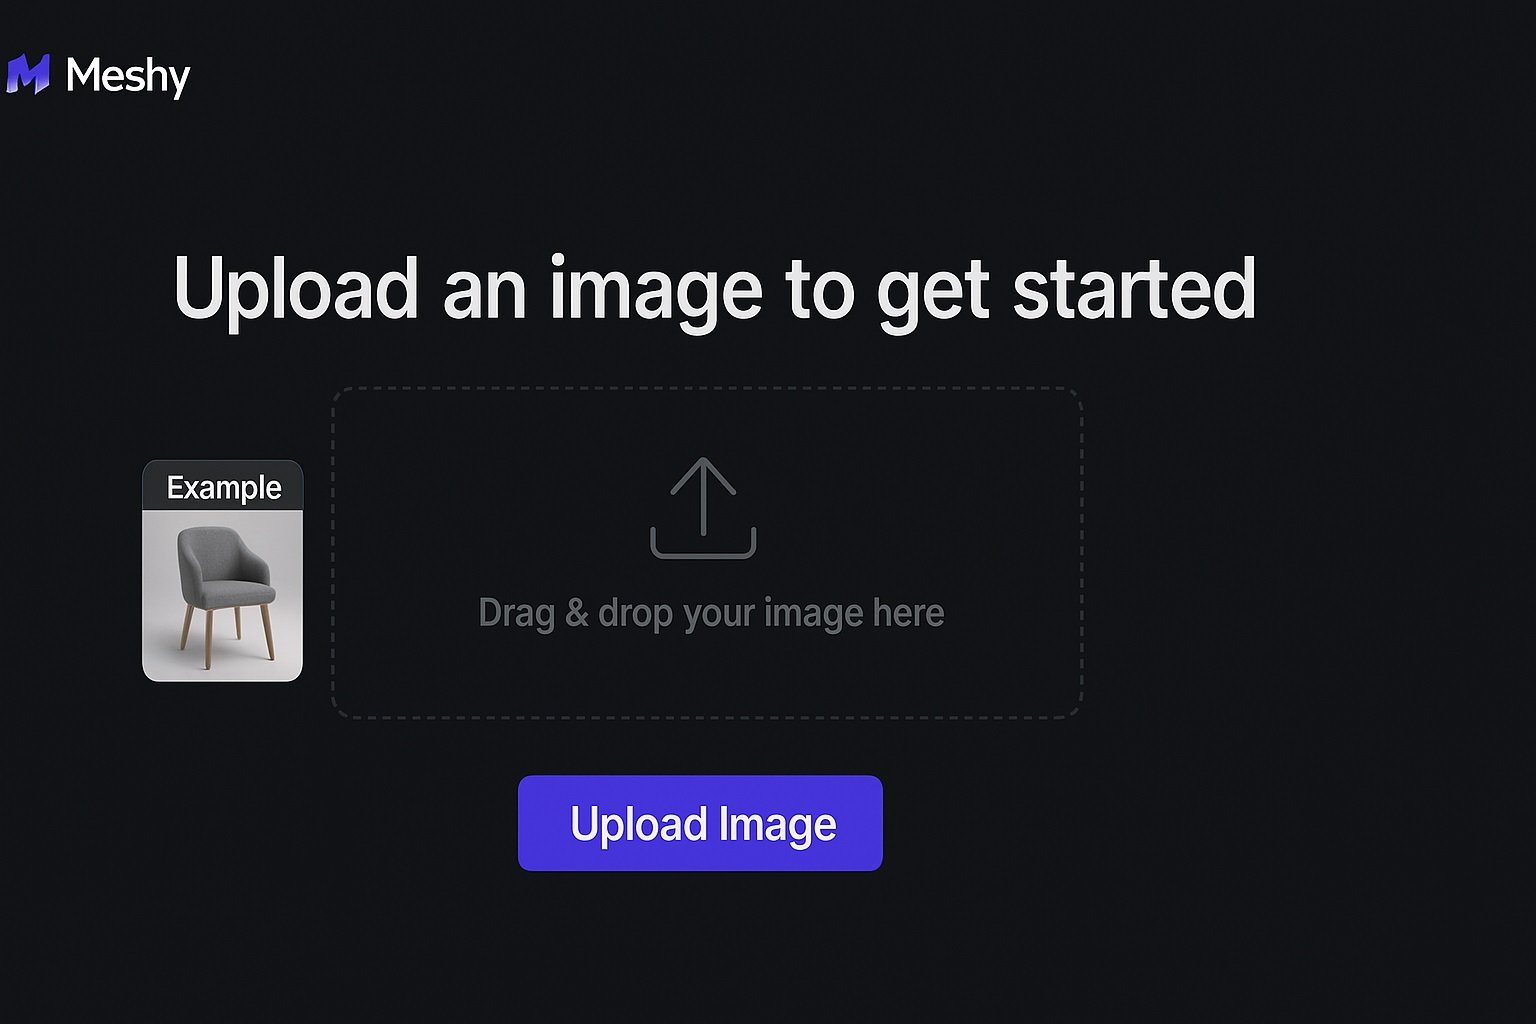
- Preview it in Kaedim3D’s 3D viewer.
- Use the rotate and zoom tools to inspect the geometry.
- Request refinements (like fixing shapes or smoothing surfaces) directly in the interface.
If needed, export the model to a 3D editor for further tweaks—textures, rigging, or lighting.
Exporting and Using the Model
333333333333333333333
Kaedim3D supports standard 3D file formats like:
.FBX.OBJ.GLTF/.GLB
Once exported, you can import the model into:
- Game engines: Unity, Unreal Engine.
- 3D design software: Blender, Maya, 3ds Max.
- AR/VR applications: For interactive experiences.
This makes Kaedim3D perfect for creating quick prototypes, game assets, or marketing visuals.
Tips for Beginners
- Use simple images: Start with clear, uncluttered 2D art.
- Add context in notes: Tell the AI what you want emphasized.
- Check scale and orientation: Before importing into other software.
- Experiment with lighting and textures after export for realism.
How to Use Kaedim3D 3D Models for Beginners: A Step-by-Step Guide
Learn how to use Kaedim3D to create stunning 3D models—even if you’re a complete beginner. This step-by-step guide walks you through transforming 2D images into 3D assets, customizing your models, and exporting them for use in games, animation, and design projects. Perfect for beginners exploring 3D modeling with Kaedim3D’s powerful AI tools.
Conclusion
Kaedim3D brings the future of 3D modeling to your fingertips. With AI handling the technical heavy lifting, beginners can focus on creativity and storytelling instead of polygon counts and topology maps. Whether you’re making a character, prop, or environment, Kaedim3D is your gateway to fast, efficient, and accessible 3D creation.